Creating a Team
Teams group members and the policies that govern what resources they can use. This page walks through the create-team wizard under Teams.
Screenshots are captured automatically from the live product each release.
A team must have at least one member before you can create it.
Open the create-team wizard
Go to Teams and start Create → Create team.
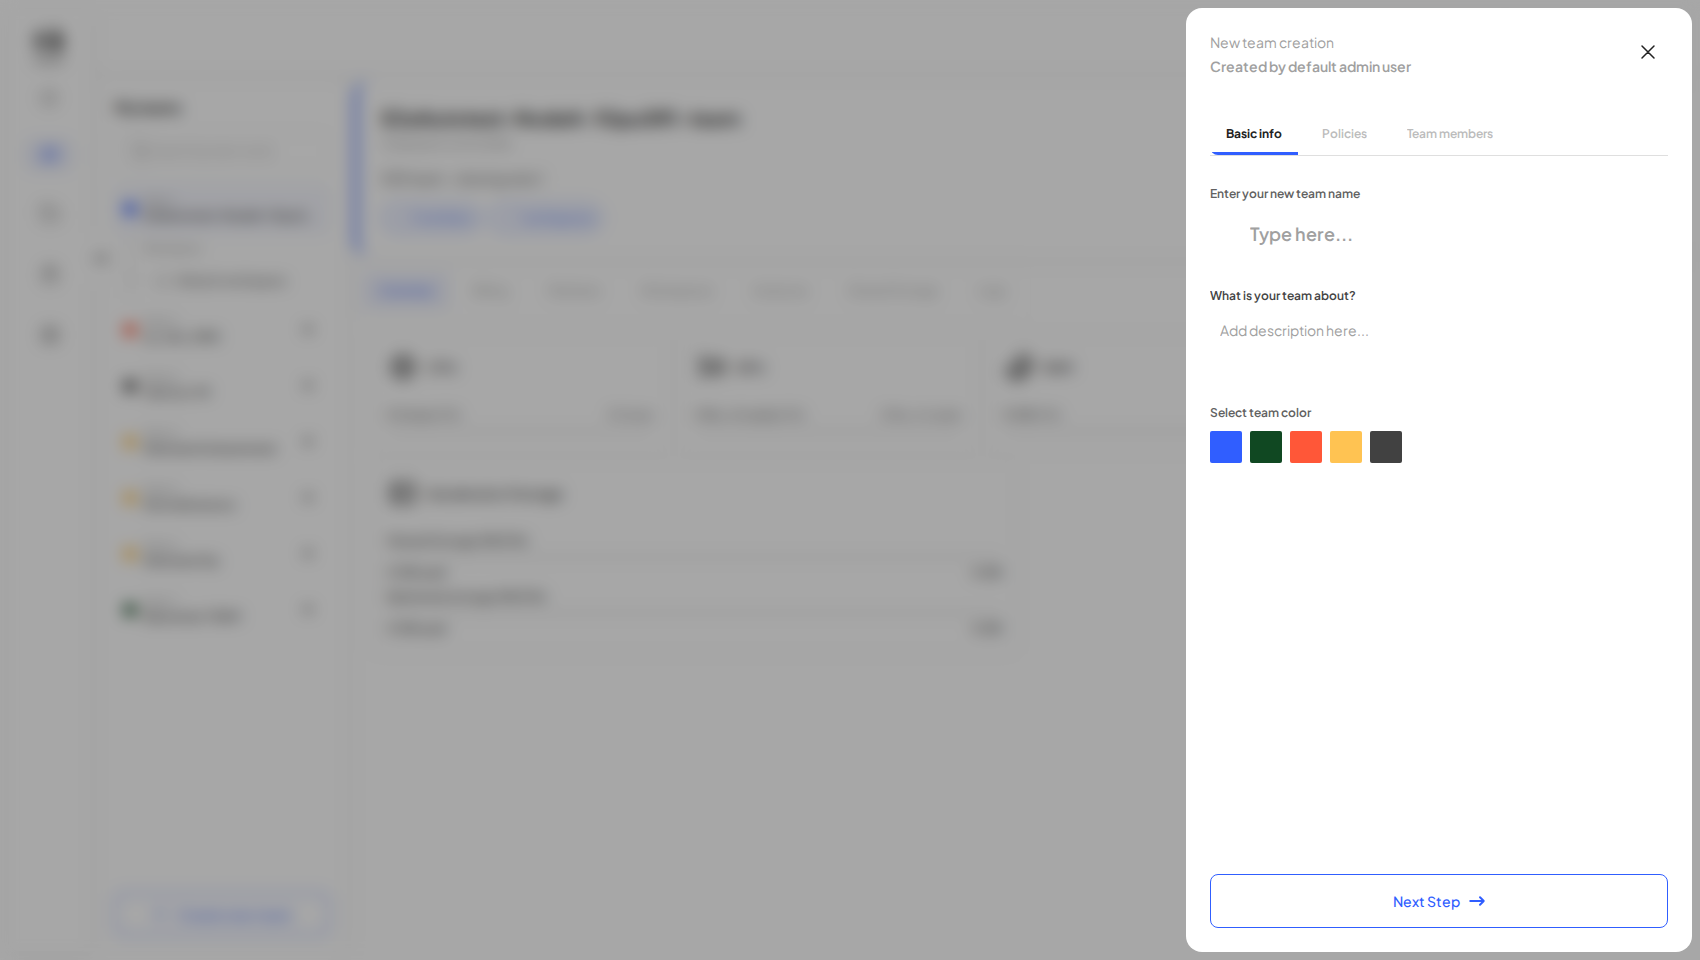
Step 1 — Team details
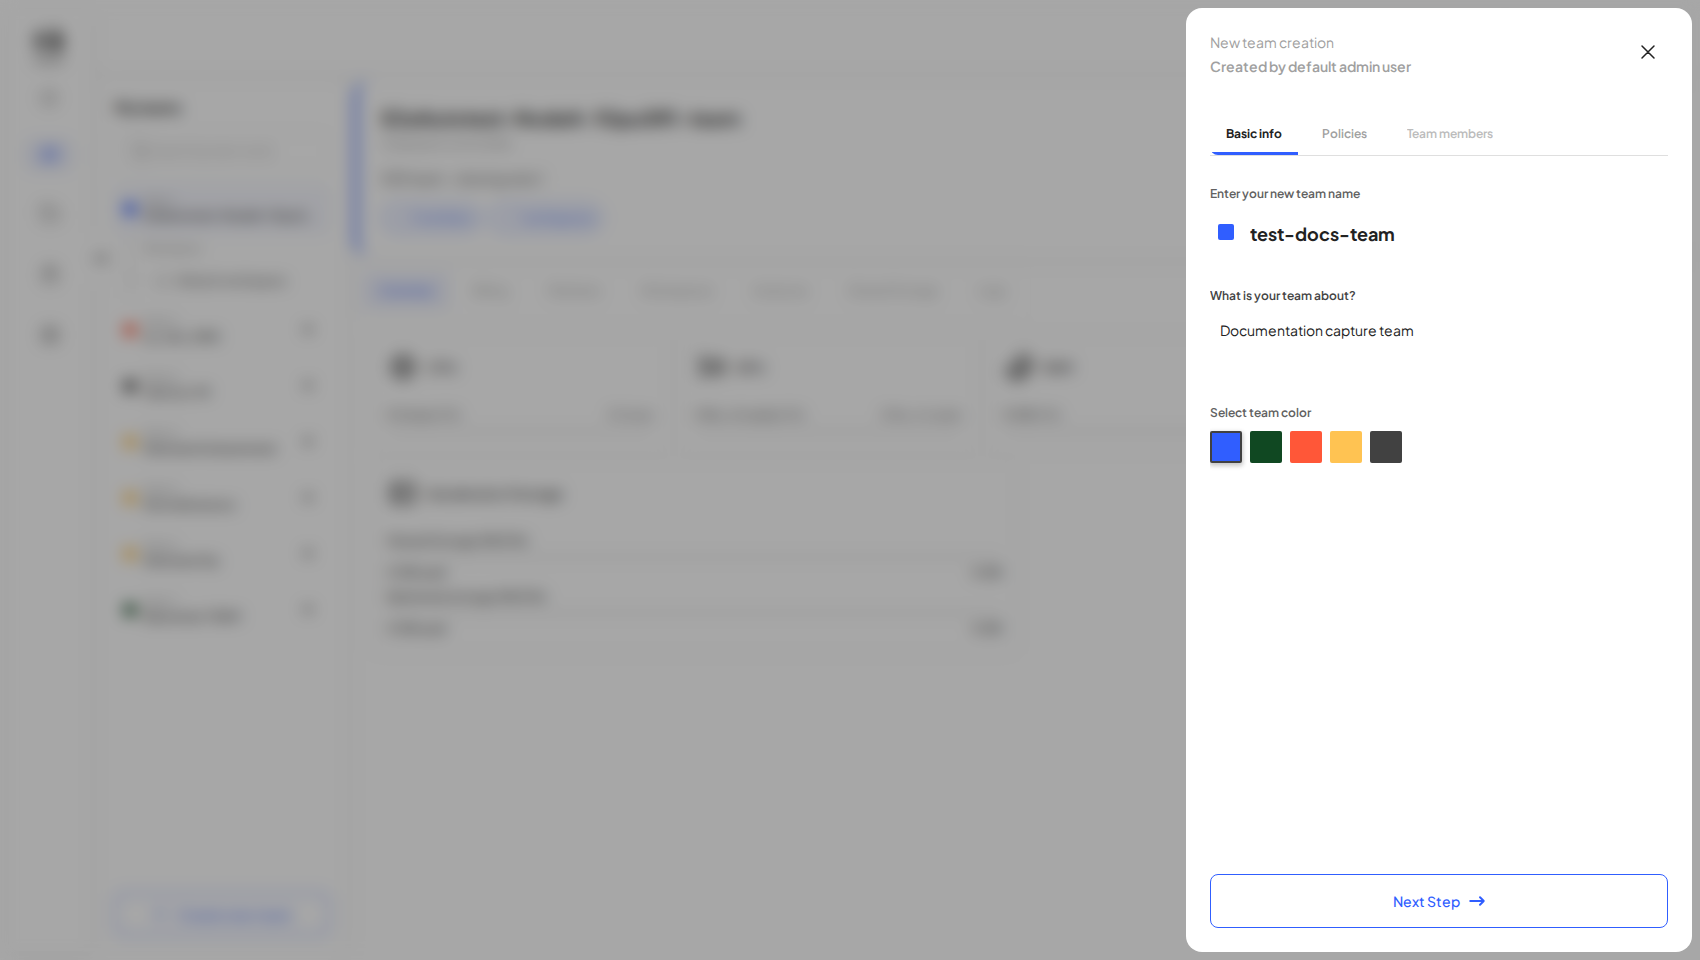
Give the team a name, an optional description, pick a colour, then Next step.
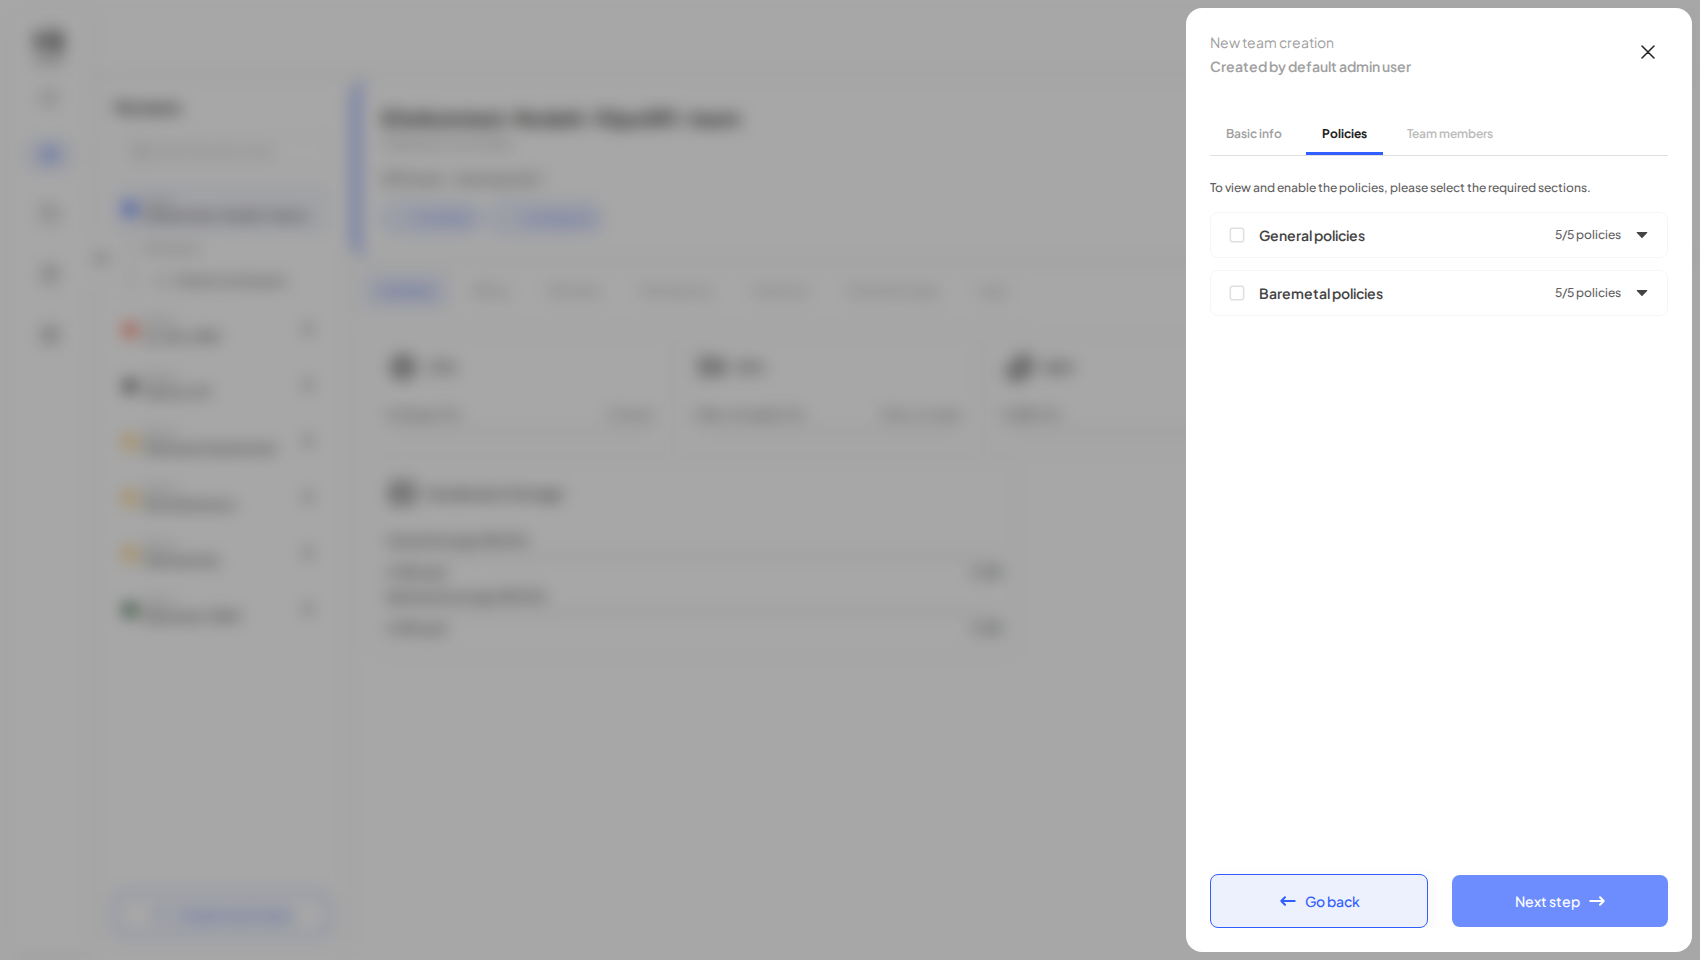
Step 2 — Policies
Attach at least one resource, instance-type, image, pricing, or service policy (general and/or baremetal).
Next step stays disabled until at least one policy is selected — you can't skip this step and add policies later.
Step 3 — Members
On the final step, add at least one member: enter their email, choose a role, and click Add — then Create team. (A team cannot be created without a member.)
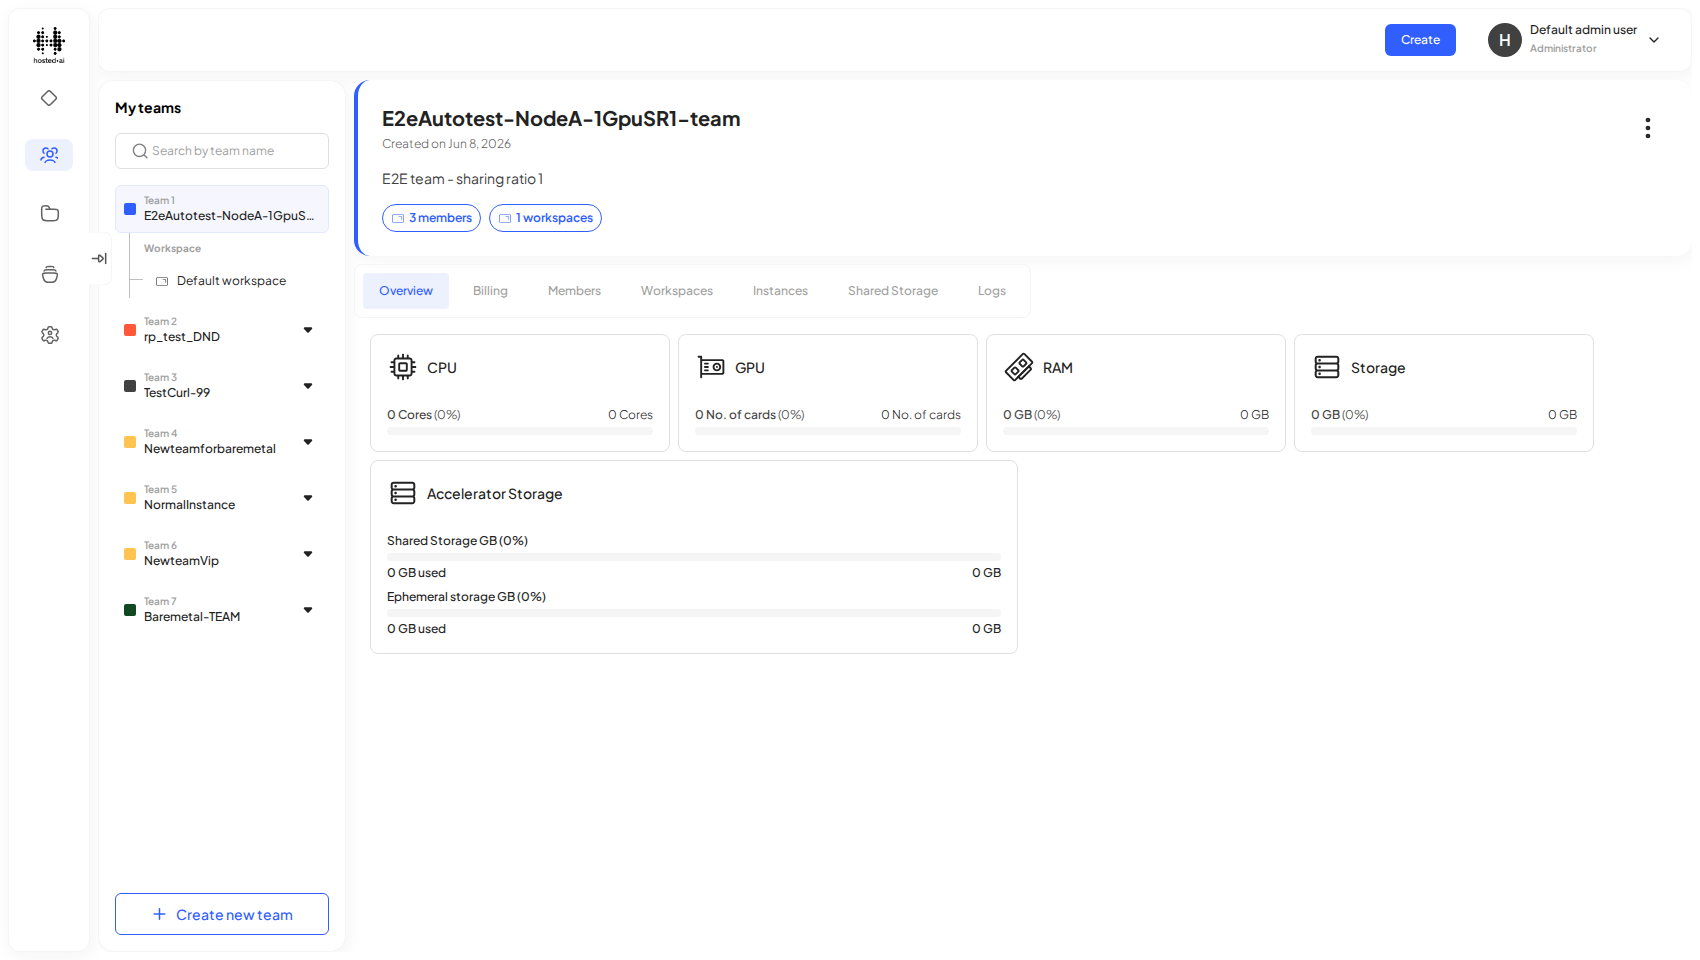
Your teams
Created teams appear in the Teams list.
Reference
Fields
| Field | Type |
|---|---|
| Search by team name | text |
| Type here... | text |
| Add description here... | text |
Tabs: Basic info · Policies · Team members · Overview · Billing · Members · Workspaces · Instances · Shared Storage