Managing SSH Keys
SSH keys let you connect to the instances you deploy. You add a key once under your profile, and it becomes available when launching instances. This page walks through adding and removing a key in the User Control Panel.
The screenshots below are captured automatically from the live product on each release, so they match the version you're running.
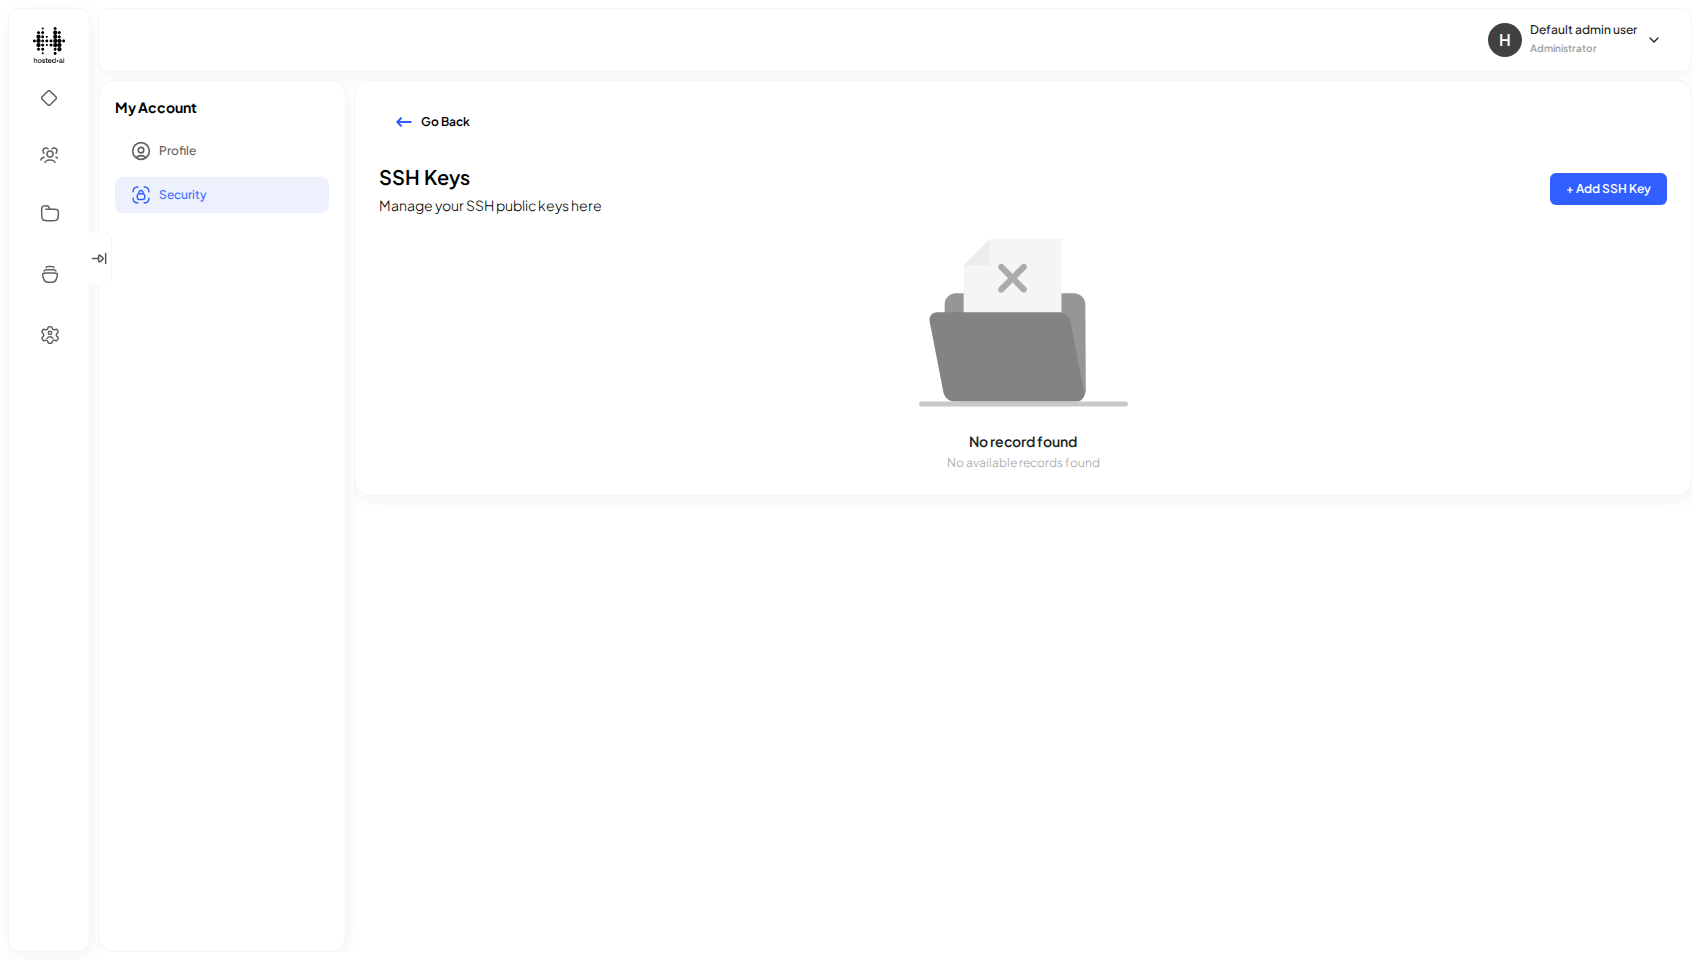
Open the SSH Keys page
Go to Profile → Security → SSH Keys. Any keys already on your account are listed here with their fingerprint and creation date.
Add an SSH key
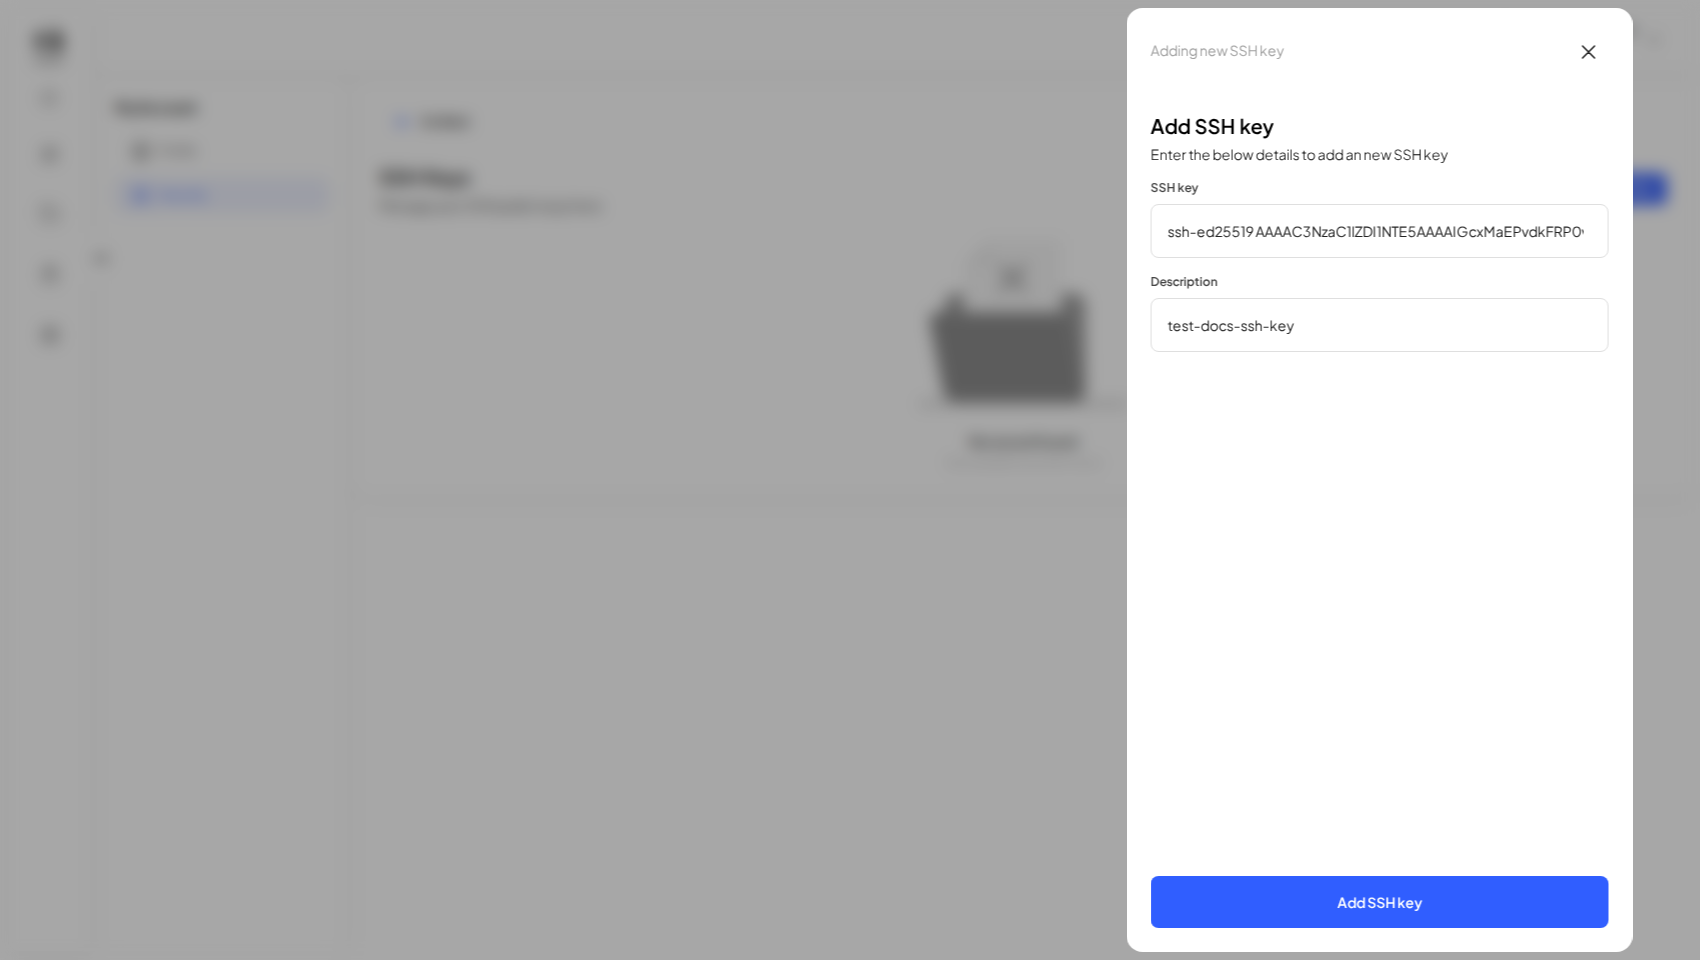
Click Add SSH Key, give the key a recognisable name, and paste your
public key (the contents of your .pub file — never your private key), then
Add SSH key.
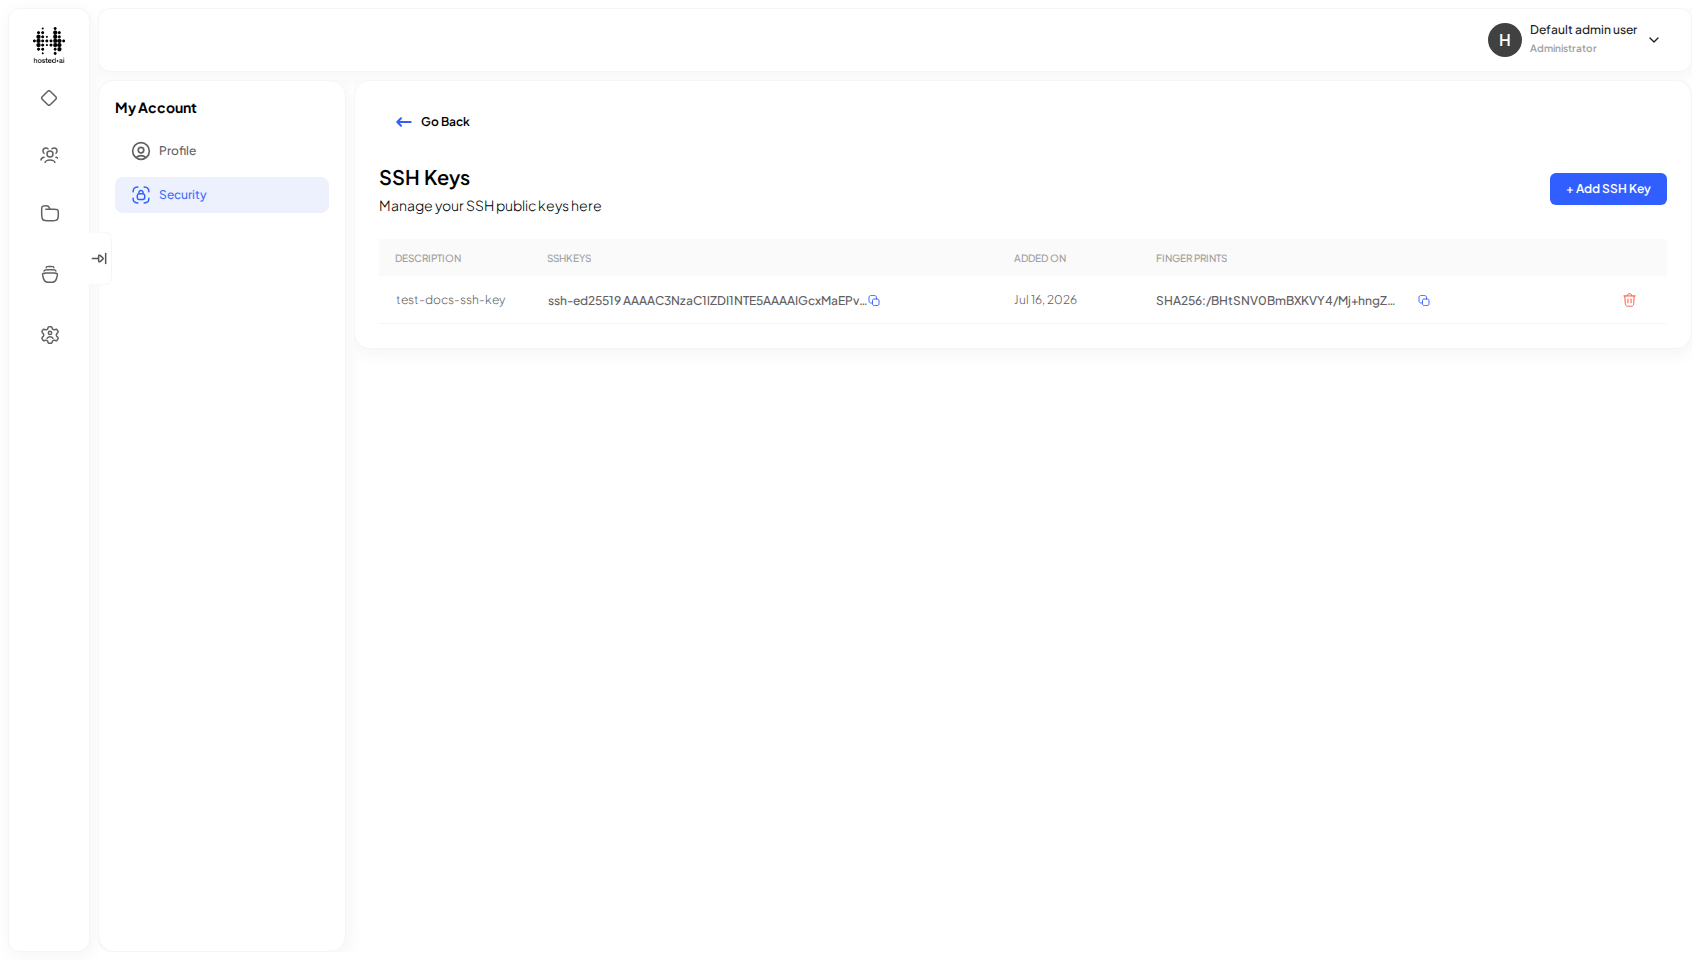
The new key then appears in the list.
Delete an SSH key
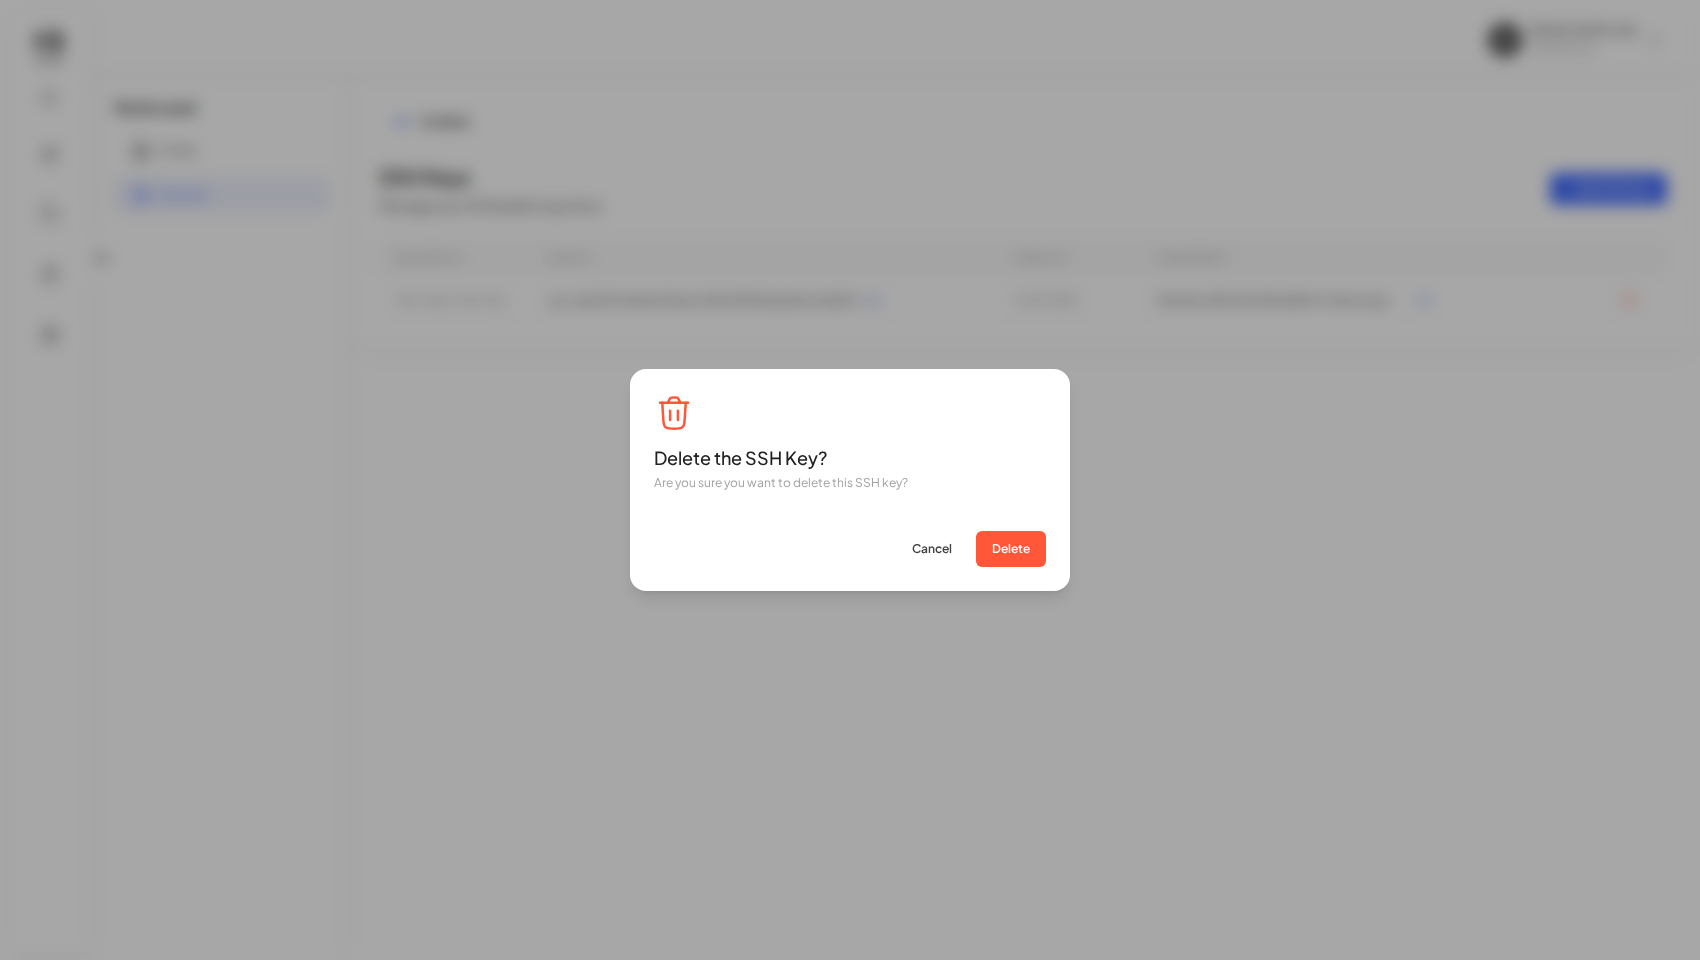
Use the delete (trash) action on the key's row and confirm. The key is removed immediately and can no longer be used for new connections.
Reference
Fields
| Field | Type |
|---|---|
| Paste it here... | text |
| What is this SSH key?... | text |
Table columns: DESCRIPTION · SSHKEYS · ADDED ON · FINGER PRINTS