Managing a Team
A team groups people and resources so they can be managed and billed together. Open Teams from the left navigation, then pick a team under My teams to open its tabs: Overview, Billing, Members, Workspaces, Instances, and Shared Storage.
The screenshots below are captured automatically from the live product on each release, so they match the version you're running.
Members
The Members tab lists everyone on the team with their role and status. The tabs across the top (Team Member, Read-only Member, Finance Manager, Team Admin) filter the list by role. Click Add member to invite someone by email and assign a role — they show as Invited until they accept.
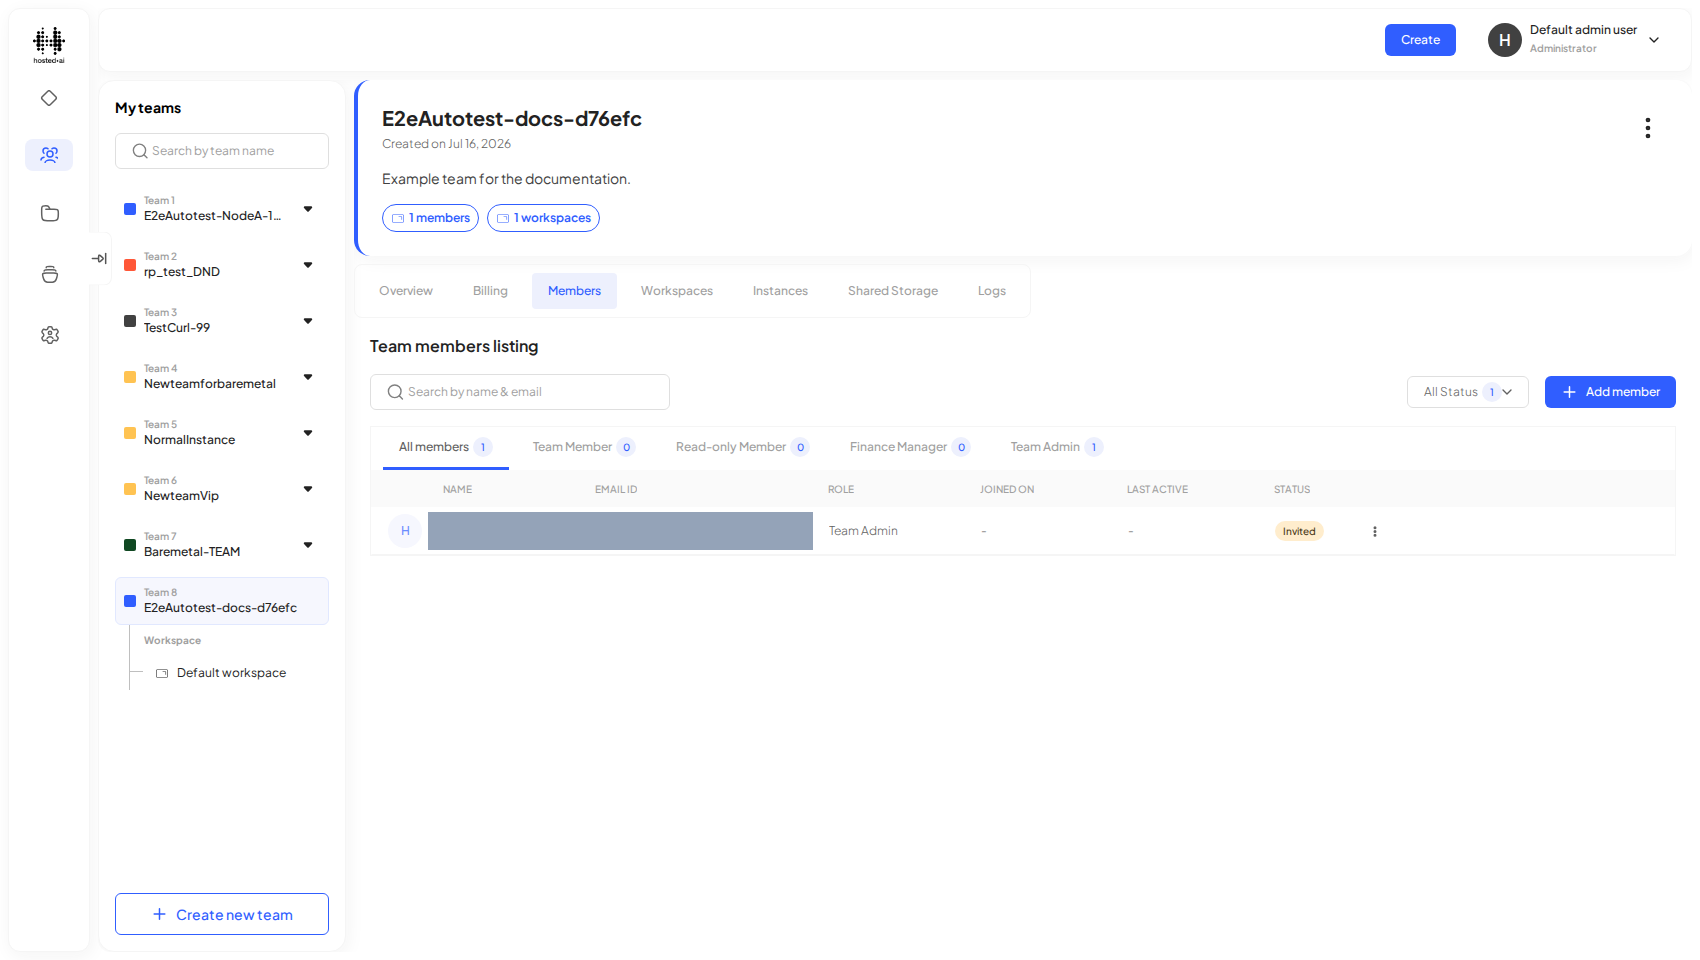
Member names and email addresses are redacted in the screenshot above.
Workspaces
Workspaces group a team's instances by use case — for example separate workspaces for development, testing, and production. Each instance belongs to one workspace at a time, and every team starts with a Default workspace.
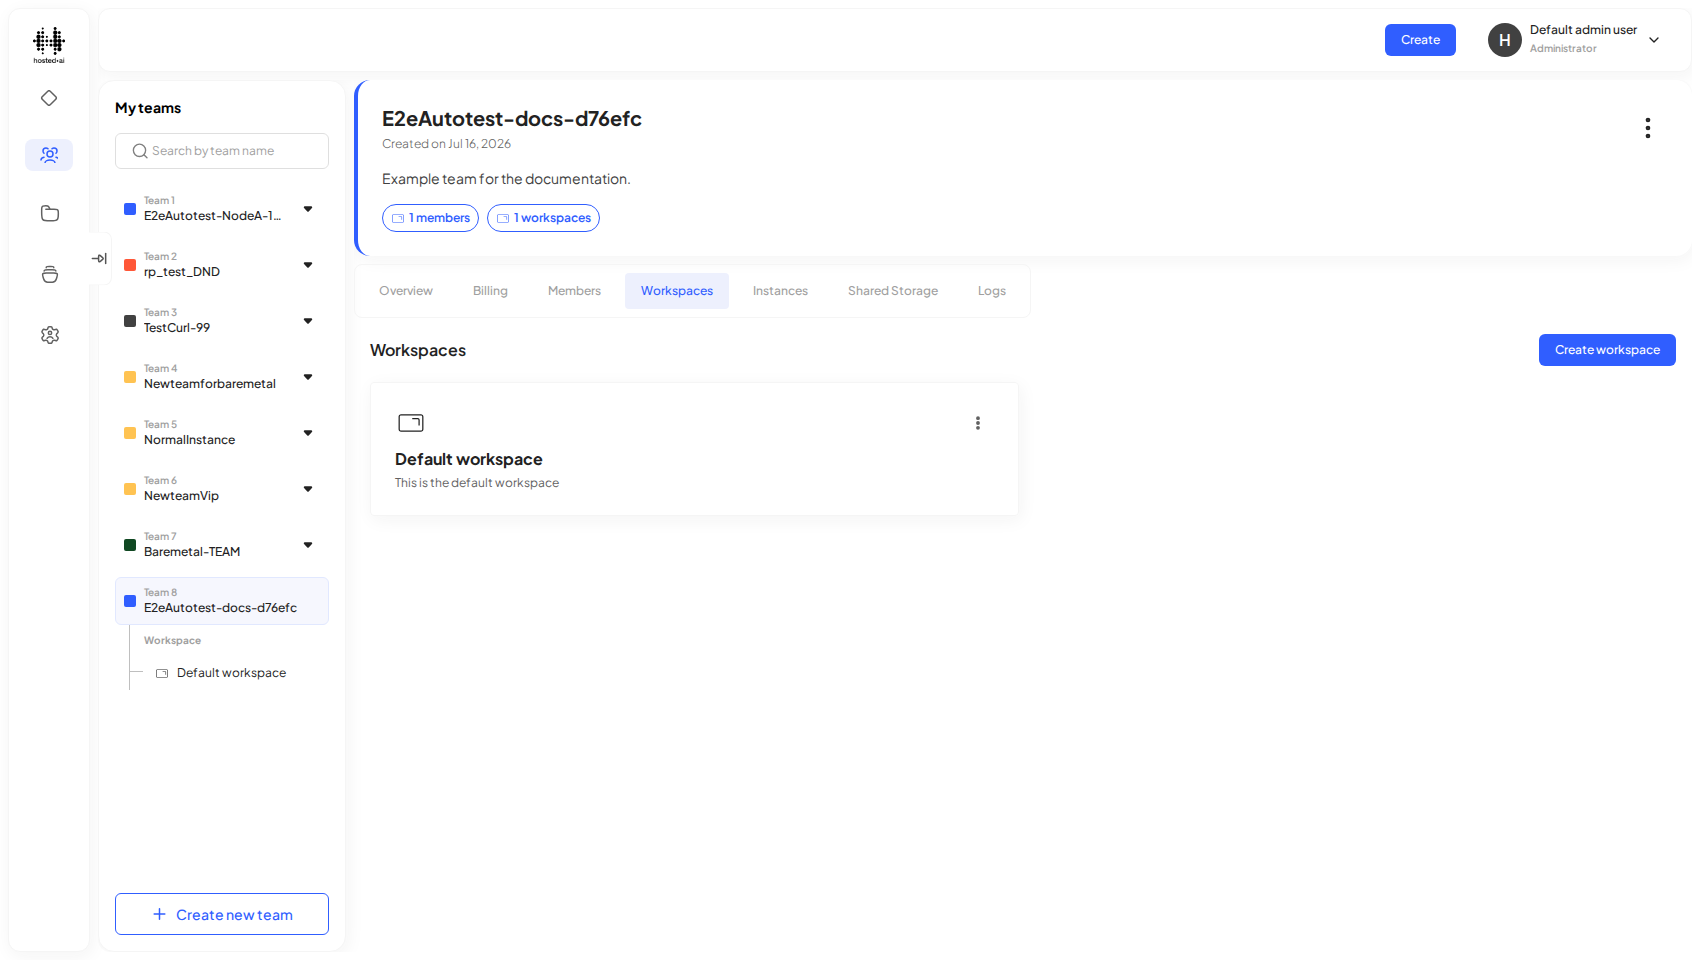
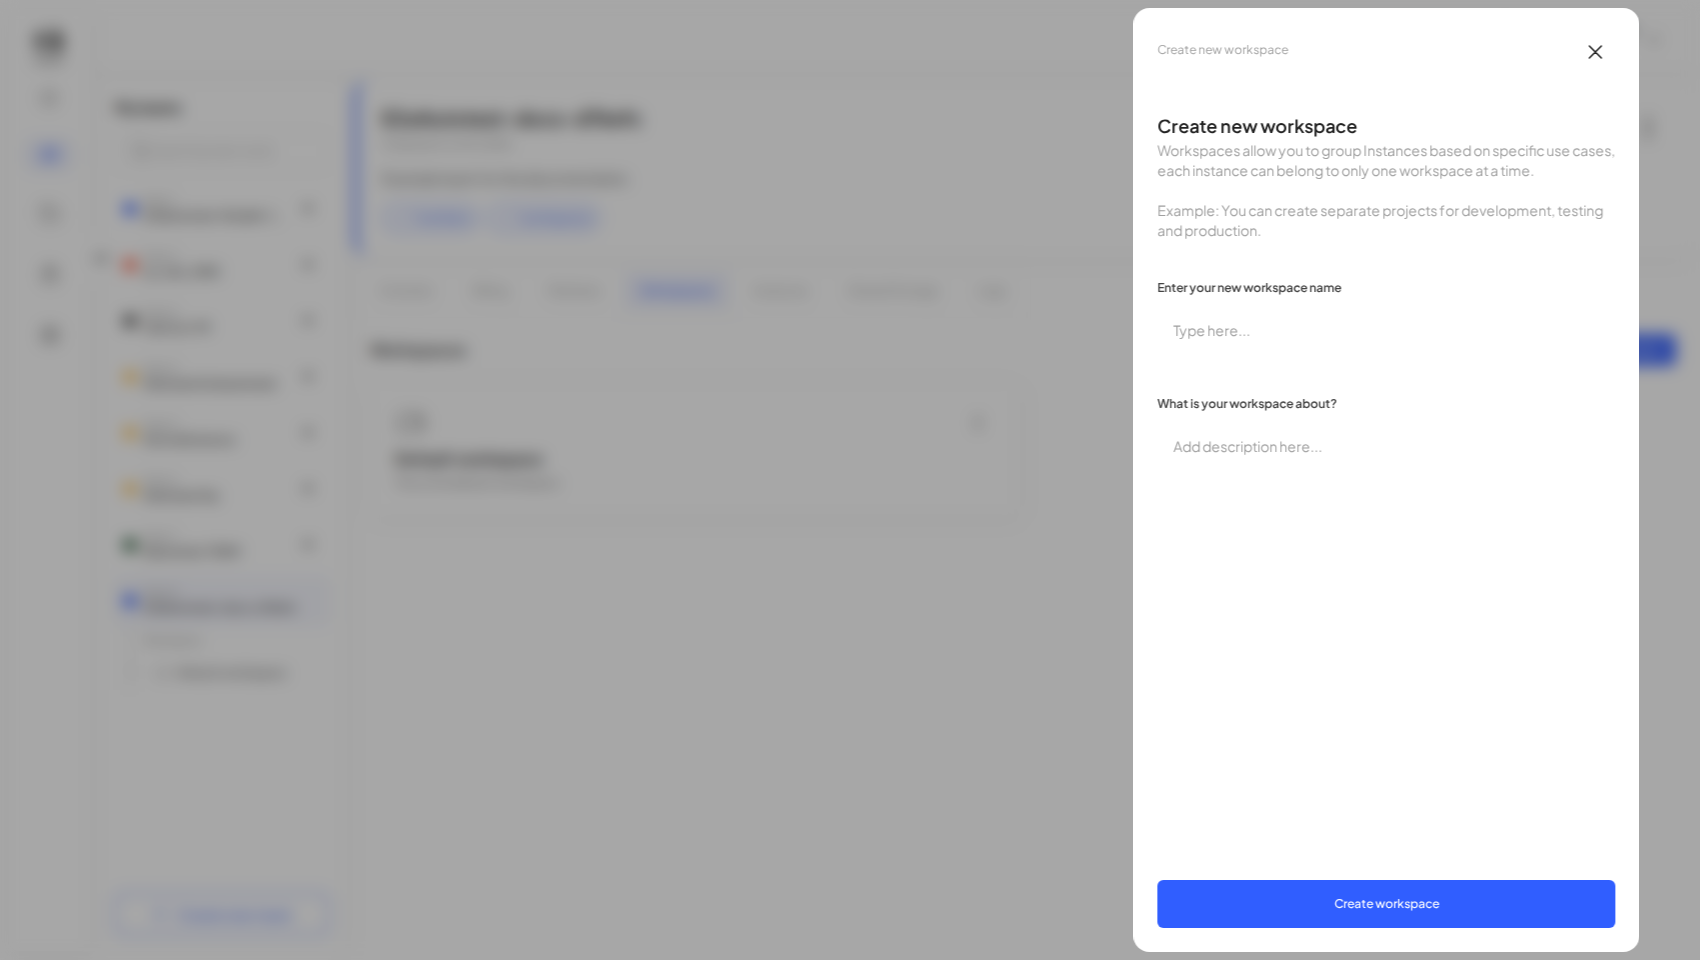
To add one, click Create workspace, give it a name and an optional description, then Create workspace.
Shared Storage
The Shared Storage tab manages volumes that every member of the team can mount. Creating a shared volume needs a region your team's resource policy grants access to, plus a storage block available in that region — so a brand-new team starts with none.
Reference
Fields
| Field | Type |
|---|---|
| Search by team name | text |
Tabs: Overview · Billing · Members · Workspaces · Instances · Shared Storage